Gaming performance depends heavily on properly calibrated equipment. High-DPI devices offer precision and responsiveness that can give you a competitive edge. However, these benefits only materialize when your gear is correctly configured. This guide walks you through the calibration process step by step.
Understanding High-DPI Gaming Equipment
High-DPI (dots per inch) gaming equipment includes mice, monitors, and other peripherals designed for precision. The higher the DPI, the more sensitive your device becomes to movement. Professional gamers often use settings between 400 and 3200 DPI, depending on their playstyle.
Additionally, understanding DPI helps you make informed decisions about your setup. Many beginners mistakenly believe higher DPI always equals better performance. This isn’t necessarily true. The optimal setting varies based on game type, personal preference, and screen resolution.
Preparing Your Gaming Space
Before calibrating your equipment, prepare your gaming environment properly. Start by cleaning your mousepad thoroughly. Dust and debris can interfere with sensor accuracy. Use a microfiber cloth to wipe down all surfaces.
Furthermore, ensure adequate lighting in your gaming area. Some optical sensors perform poorly in extreme lighting conditions. Consistent, moderate lighting provides the best tracking results. Position your monitor at eye level to reduce strain during extended gaming sessions.
Calibrating Your Gaming Mouse
Your mouse is the primary tool for most gaming interactions. Therefore, proper calibration is essential for optimal performance.
Setting the Base DPI
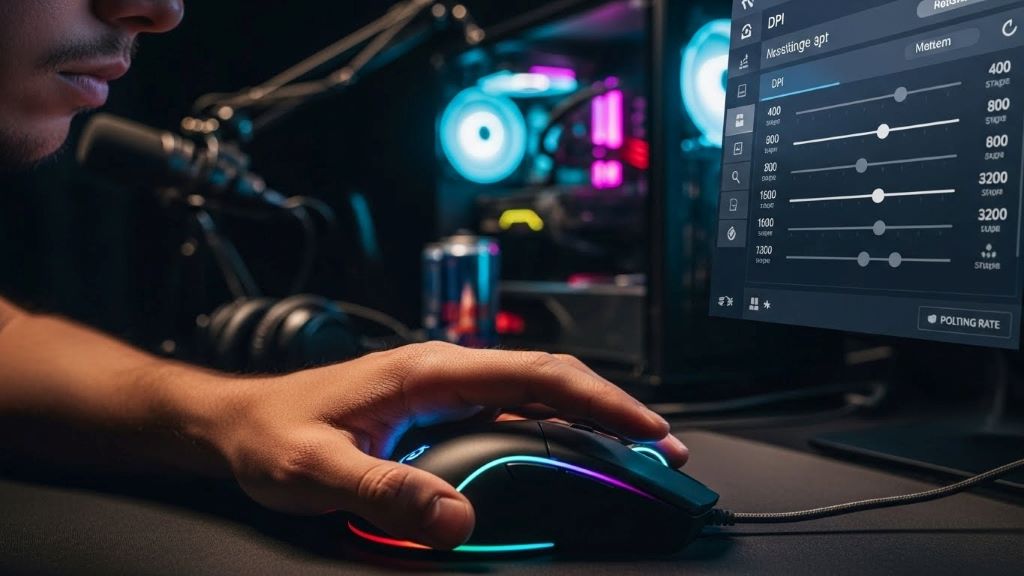
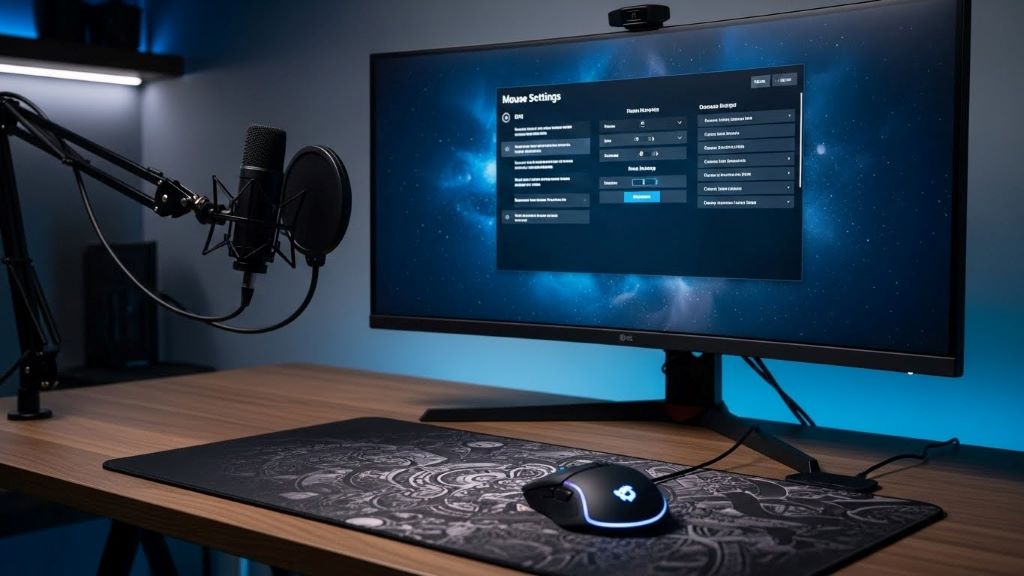
Start by accessing your mouse software. Most gaming mice come with dedicated applications like Razer Synapse, Logitech G Hub, or SteelSeries Engine. Open the software and locate the DPI settings panel.
Begin with a moderate DPI setting around 800. This provides a good baseline for testing. Move your mouse across the mousepad and observe the cursor movement. The cursor should travel smoothly without jittering or acceleration.
Adjusting Polling Rate
Polling rate determines how often your mouse reports its position to your computer. Higher polling rates (1000Hz) offer smoother tracking. However, they can increase CPU usage slightly.
Most modern systems handle 1000Hz polling without issues. Nevertheless, if you experience performance problems, try lowering the polling rate to 500Hz. The difference is minimal for most users.
Fine-Tuning Sensitivity
After setting your base DPI, test it in-game. Load your favorite title and play normally for 10-15 minutes. Pay attention to how the sensitivity feels during different actions.
If you’re overshooting targets consistently, lower your DPI by 100-200. Conversely, if you’re struggling to turn quickly, increase it slightly. Make small adjustments and test thoroughly between changes.
According to PC Gamer’s guide on mouse DPI settings, professional players rarely use extremely high DPI values. Most prefer settings that allow full mousepad utilization for 360-degree turns.
Calibrating Your Gaming Monitor
Monitor calibration significantly impacts visual clarity and color accuracy. Proper settings reduce eye strain and improve target visibility.
Adjusting Brightness and Contrast
Start with brightness settings. Your monitor should be bright enough to see details in dark areas without causing eye strain. A good test is to open a black image with slight gray variations. You should distinguish between different shades easily.
Contrast settings determine the difference between light and dark areas. Too much contrast creates harsh transitions. Too little makes everything look washed out. Aim for a balanced setting where details remain visible across the full range.
Setting Color Temperature
Color temperature affects how warm or cool your display appears. Most gaming monitors offer presets like “warm,” “neutral,” or “cool.” Gaming typically benefits from neutral or slightly cool settings.
However, personal preference plays a significant role here. Some players prefer warmer settings for extended sessions as they reduce blue light exposure. Test different options and choose what feels most comfortable.
Enabling Gaming-Specific Features
Modern monitors include features like response time reduction, adaptive sync, and low input lag modes. Enable these features for competitive gaming. Response time settings should be set to the fastest available option, typically labeled “Fast” or “Fastest.”
Additionally, enable adaptive sync technologies like G-Sync or FreeSync if available. These features eliminate screen tearing and provide smoother gameplay. Make sure your graphics card supports the technology your monitor uses.
Configuring In-Game Settings
Game-specific settings work alongside hardware calibration. Each title handles input differently, so optimization is necessary.
Mouse Sensitivity Adjustment
Most games offer sensitivity sliders independent of your hardware DPI. Start with medium sensitivity settings. This typically ranges from 5-7 on a scale of 1-10.
Test your settings in practice modes or casual matches. You should be able to perform a 180-degree turn using approximately half your mousepad space. Adjust the in-game sensitivity until this feels natural.
Disabling Mouse Acceleration
Mouse acceleration changes cursor speed based on how quickly you move your mouse. This creates inconsistent aiming and should be disabled for competitive gaming. Check both Windows settings and in-game options to ensure it’s turned off.
According to TechRadar’s article on improving gaming performance, disabling mouse acceleration is one of the most important steps for consistent aim.
Field of View Optimization
Field of view (FOV) settings affect how much you see on screen. Higher FOV values provide better peripheral vision but can distort images at the screen edges. Most competitive players use FOV settings between 90 and 110 degrees.
Experiment with different values to find your sweet spot. Remember that FOV interacts with your sensitivity settings. Changing FOV might require slight sensitivity adjustments.
Testing and Refining Your Setup
Calibration isn’t a one-time process. Regular testing ensures your equipment maintains optimal performance.
Benchmark Testing
Use aim training software like Aim Lab or KovaaK’s to benchmark your performance. These programs provide objective measurements of accuracy and reaction time. Run tests before and after calibration to measure improvement.
Track your scores over time. Consistency matters more than occasional high scores. If your performance varies wildly, your settings might need adjustment.
Regular Maintenance
Clean your equipment weekly. Dust buildup on mouse sensors causes tracking issues. Replace worn mousepads every 6-12 months. Fabric pads wear out faster than hard plastic surfaces.
Check for firmware updates from your peripheral manufacturers. These updates often include performance improvements and bug fixes. Enable automatic updates when possible.
Conclusion
Calibrating high-DPI gaming equipment requires patience and attention to detail. Start with moderate settings and make small, incremental adjustments. Test thoroughly between changes to understand their impact on your performance. Remember that professional players spend hours fine-tuning their setups. Your optimal settings will be unique to your playstyle, physical setup, and personal preferences. Regular maintenance and periodic recalibration ensure your equipment continues performing at its best. With properly calibrated gear, you’ll notice improved accuracy, faster reaction times, and reduced fatigue during extended gaming sessions.
Frequently Asked Questions
What is the best DPI setting for gaming?
There is no universal “best” DPI setting. Most professional players use between 400 and 1600 DPI. The optimal setting depends on your game genre, screen resolution, and personal preference. First-person shooter players typically prefer lower DPI for precise aiming, while MOBA players often use higher settings for faster cursor movement.
How often should I calibrate my gaming equipment?
Calibrate your equipment whenever you notice performance changes or after significant updates. Additionally, recalibrate when switching games or if you’ve made hardware changes. For most users, quarterly calibration checks are sufficient. However, competitive players may adjust settings more frequently based on performance data.
Does higher DPI always mean better performance?
No, higher DPI does not guarantee better performance. Extremely high DPI settings can make precise movements difficult and cause overshooting. The key is finding a DPI that allows comfortable, accurate control. Many professionals use moderate DPI settings combined with low in-game sensitivity for optimal precision.
Should I use mouse acceleration for gaming?
Most competitive gamers disable mouse acceleration because it creates inconsistent cursor movement. Acceleration makes muscle memory development difficult since the same physical movement produces different results based on speed. For consistent aim, turn off acceleration in both Windows and your games.
How do I know if my monitor is properly calibrated?
A properly calibrated monitor displays clear details in both dark and bright scenes without eye strain. Colors should appear natural and consistent. Test with various game environments and screenshots. If you notice washed-out colors, excessive brightness, or difficulty seeing details in shadows, adjustment is needed.
Related Topics:
Restart Firestick to Improve Performance – Simple Fixes That Work
Gimbal vs Tripod vs Others in Photography: The Ultimate Guide