Would you like to approach the world of graphic design and, talking to a friend, you have been suggested to turn to SketchUp, the famous software that allows, in fact, to create 3D models, available in both free and paid.
Eager to learn more and above all to understand how to use SketchUp, then, you did some research on the Net and you’re finished here, on my guide. How do you say? Things are exactly like this and would you like to know if I can help you? Of course yes, we would miss something else! Spend a few minutes of your free time reading the following and you will see that, in the end, you will have perfectly clear ideas on SketchUp and its most important functions.
In fact, we are going to discover, together, how to download the program, how to install it and how to use it to start creating three-dimensional graphic projects. Apparently, I know, it may seem like a complicated thing, but in reality it is not so, at least not putting the right amount of effort and interest. Now, however, just chat and move on to action! I wish you, as usual, good reading and I’ll give you a big good luck for everything!
Supported devices and minimum requirements
Before entering into the heart of this tutorial, I feel obliged to indicate which devices are supported to be able to take advantage of SketchUp as well as the minimum requirements, so as to ensure the fact that you can actually make use of the software.
As for the devices on which you can use SketchUp, currently the program is usable by computer using Windows and MacOS operating systems, Pro version ($ 695) and Make (this is a free variant but more dated), and from smartphones and tablets, using the Android and iOS mobile platforms. SketchUp is also available in a variant accessible directly via the Web, compatible with all major browsers.
Regarding the version of SketchUp for computer, like any other program, requires that some minimum technical requirements are respected, in the absence of which the software may be unusable or otherwise may malfunction. Here they are all in detail.
- Operating system: Windows 7, macOS El Capitan 10.11.
- Processor: 1GHz.
- Memory: 4 GB.
- Free disk space: 500 MB.
Regarding the variant of the software for mobile devices, SketchUp for Android requires the Lollipop version 5.1 or later of the platform, while the version for iPhone or iPad requires iOS 10.0 or later.

Use SketchUp from a computer
Now we come to the real core of the matter and we are going to find out how, in practice, to use SketchUp. Below you can find out how to download, install and start creating projects using the computer program.
Download SketchUp
To download SketchUp Pro, i.e. the paid version of SketchUp for computers, the first fundamental step you need to take is to connect to the program’s website and click on the Download the free trial version button. In this way, you will be able to download the free trial version of the software, which runs without restrictions for 30 days.
In the new page that opens, then enter your data in the form on screen by filling in the fields Name, Surname, Email address, Company, Company size, Country, Profession / Interest. Using the drop-down menu Select the operating system at the bottom, select, depending on the operating system you are using, one of the options available between Windows and Mac. If you are not interested in the thing, then remove the check from the box next to the item I want to receive news and suggestions on SketchUp to avoid receiving emails from SketchUp and, finally, click on the Next and Try SketchUp Pro buttons. In a few moments, the software download will start.
If, however, you prefer to download SketchUp Make, the free version of the program, connected to this page , type your email address in the Email address field, specify your interests through the drop down menu below and the operating system you are using from drop-down menu Select your operating system . Then click on the Get SketchUp Make button to start the download.
Install SketchUp on Windows
If you are using Windows and if you have downloaded SketchUp Pro, open, double clicking on it, the file SketchUpPro-it.exe just obtained and presses the Yes button in the window that appears on the desktop. In the other window that is shown to you, presses the Install button to consent to the installation of Visual C ++ Runtime Libraries (a free component without which the program cannot work properly), then click on the Next buttons (for two consecutive times), Install and Finish.
If, instead, you downloaded SketchUp Make, open, double clicking on it, the file SketchUp make-xxxx-x-xxxx-xxxxx-en-x64 / 32.exe and presses the Yes button in the window that opens on the desktop. Then click on the Next (twice) and Install buttons and finish the setup by pressing the Finish button.
After installation, regardless of the version chosen, start the program by double clicking on the special link that was added to the desktop or via the Start menu, selecting the name of the program from the list displayed.
Install SketchUp on macOS
If you are using macOS, in order to install SketchUp Pro or SketchUp Make, open the dmg package obtained. Then drag the software folder into the Applications folder of macOS, double-click on it, right-click on the icon of the SketchUp application contained in it and select the item Open twice in a row, in order to start the program but going to circumvent the limitations imposed by Apple towards applications from non-certified developers (an operation that should be performed only at the first start).
In the window that appears on the desk, check the box I accept the SketchUp contract and presses the Continue button to access SketchUp and start using the software.

Create projects
Now that you can view the program window on the screen regardless of the operating system you are using, you can start creating your first graphic project. Select, therefore, one of the available templates in the list and click on the Continue and Start to use SketchUp buttons.
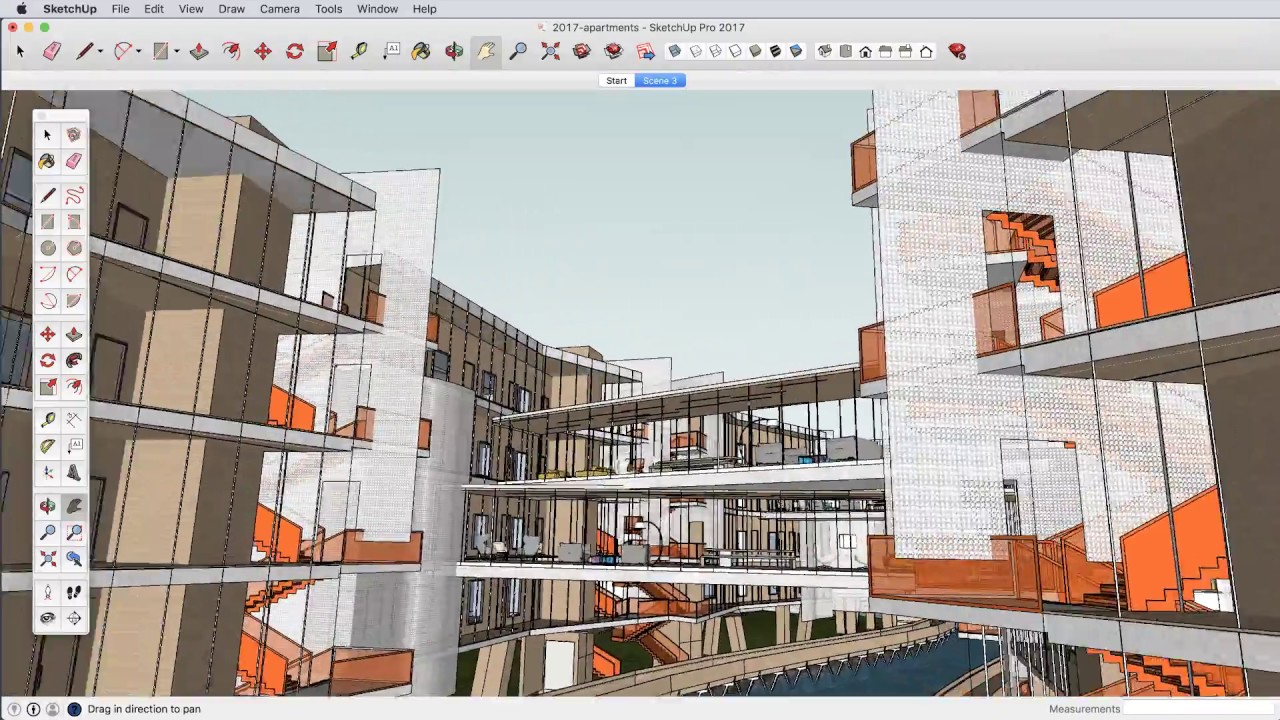
At this point, you should finally find yourself in front of the main software window. In the central part, that is the editor, there is the 3D chart with a group of three axes. At the top there is the toolbar with, in fact, all the tools necessary to create 3D models, while even more on find the menu bar, useful for accessing additional functions and tools and to intervene on project files.
To begin with, you can use the tools in the line (the pencil icon) to draw one-dimensional segments. You can also draw two-dimensional shapes using the tools for the shapes (the icon with the rectangle). If you want to create arcs, instead, use the tools of the arc (the icon with points and segments). Using the respective drop-down menus you can select the options you prefer.
To create three-dimensional elements, you have to do is push or pull a 2D shape so that it becomes a 3D shape: you can succeed using the tool Push / Pull (the icon with the base and the arrow ) over the two-dimensional forms that you have created , clicking on it and continuing to hold down, dragging the various parts. After generating three-dimensional shapes, you can use the Scale tool (the square icon and the arrow) to scale the dimensions.
If necessary, you can view the created objects from different perspectives and orbits. You can do this using the Overview tool (the hand icon), which allows you to move the drawing left or right and up or down. Using the Orbit tool (the icon with the two arrows), you can turn around objects, always by clicking and dragging.
You can also move and rotate objects, using the Move tools (the four arrows icon) and Rotate (the icon with the two circular arrows), and the tool called the Tool (the icon with the inclined arrow and the semicircle) allows you to create copies of lines at a uniform distance from the originals.
All created elements can be colored using the Fill tool (the bucket icon). To use it, select the color or texture you prefer from the window to choose the colors you see appearing and click in the points of the object you want to color. In this regard, I would like to point out that in order to color them, the forms must be complete. To add text, however, use the Text tool (the icon with the rectangle with written A1), click where you want to write and type your text in the box that appears.
Whatever you have drawn in SketchUp can be removed with the Delete tool (the eraser icon). If you need to zoom in on specific objects or the entire work area, you can use the zoom tools (icons with the magnifying glass symbol). You may also find the Measure Tape tool (the icon with the meter) that, as the name implies, allows you to measure objects and create sections, by typing the measure in the appropriate section in the lower part of the window.
When you want, you can save your project through the menu File> Save located at the top left, indicating the location on your computer where you save the file and then pressing the Save button.
Keep in mind that the ones I’ve just provided are just basic knowledge of how SketchUp works. For further information, you can refer to the section of the SketchUp website specifically dedicated to learning how the software works and how to use it.
Add models and extensions
To enrich your project created with SketchUp, you can add models of 3D objects ready to use, taking them from the gallery, accessible by clicking on the 3D Warehouse icon of the program or through the dedicated section of the program’s website.
To search for the templates, you can use the bar at the top, typing in the keywords within. If, however, you want to browse the various models by category, click on the button with the arrow at the top and select the one you are interested in from the menu that opens. When you find a model that interests you, click on its preview and download it by pressing the Download button. Then consent to the opening of the model (if you have downloaded directly from the software) or open the relevant file (if you have downloaded from the site).
I also point out the ability to add new features to SketchUp using extensions. To search for and add them, linked to the appropriate online section of the program website, select the reference category or start a keyword search using the bar at the top, select the extension you are interested in and download it by clicking on the Download button.
When the download is complete, you can install it by clicking on the Manage extensions button in the SketchUp window, on the Install extension button and selecting the reference file.
Use SketchUp from the browser
Do you want to use SketchUp from your browser without installing anything on your computer? It can be done, as anticipated at the beginning of the article. Just use SketchUp Free, the online version of the famous program.
To use it, connect to its official website and click on the Start Modeling button. In the new page displayed, select the word Create new Trimble ID to create a free account, useful for creating and saving projects and templates created. Then enter your data in the fields First name, Last name, Email address and Password, type the control code displayed at the bottom in the Enter the above text field and click on the Create new account button.
Within a few minutes, you will receive an email at the address specified above to proceed with account activation. Click, then, on the Activate account entry to complete the creation of your account.
In the new page that will open, select the entry here, type your login information in the fields Email address and Password and press the button in sign in to access your account and start using SketchUp Free browser. Operation resumes that of the software variant.
Use SketchUp from smartphones and tablets
As I said in the previous lines, you can also use SketchUp on smartphones and tablets, downloading and installing the version of the program available as an application and designed specifically for mobile devices, which is called SketchUp Viewer. It’s free but offers in-app purchases (starting at $9.99) to add extra features.
To download it to your Android smartphone or tablet, access the section of the Play Store specifically dedicated to the app, presses the Install button, on the Accept button and wait for the download to complete. Then press the Open button.
However, if you are using iOS , go to the section of the App Store dedicated to the application, press the button Get / Install and authorize the download (if necessary) via Face ID, Touch ID or password. Next, click on the Open button.
Regarding the use, the commands and functions available are good or bad similar to those of the “classic” computer version.